
Getting started
In this guide, we will walk you through the process of creating your first schedule using our user-friendly interface.
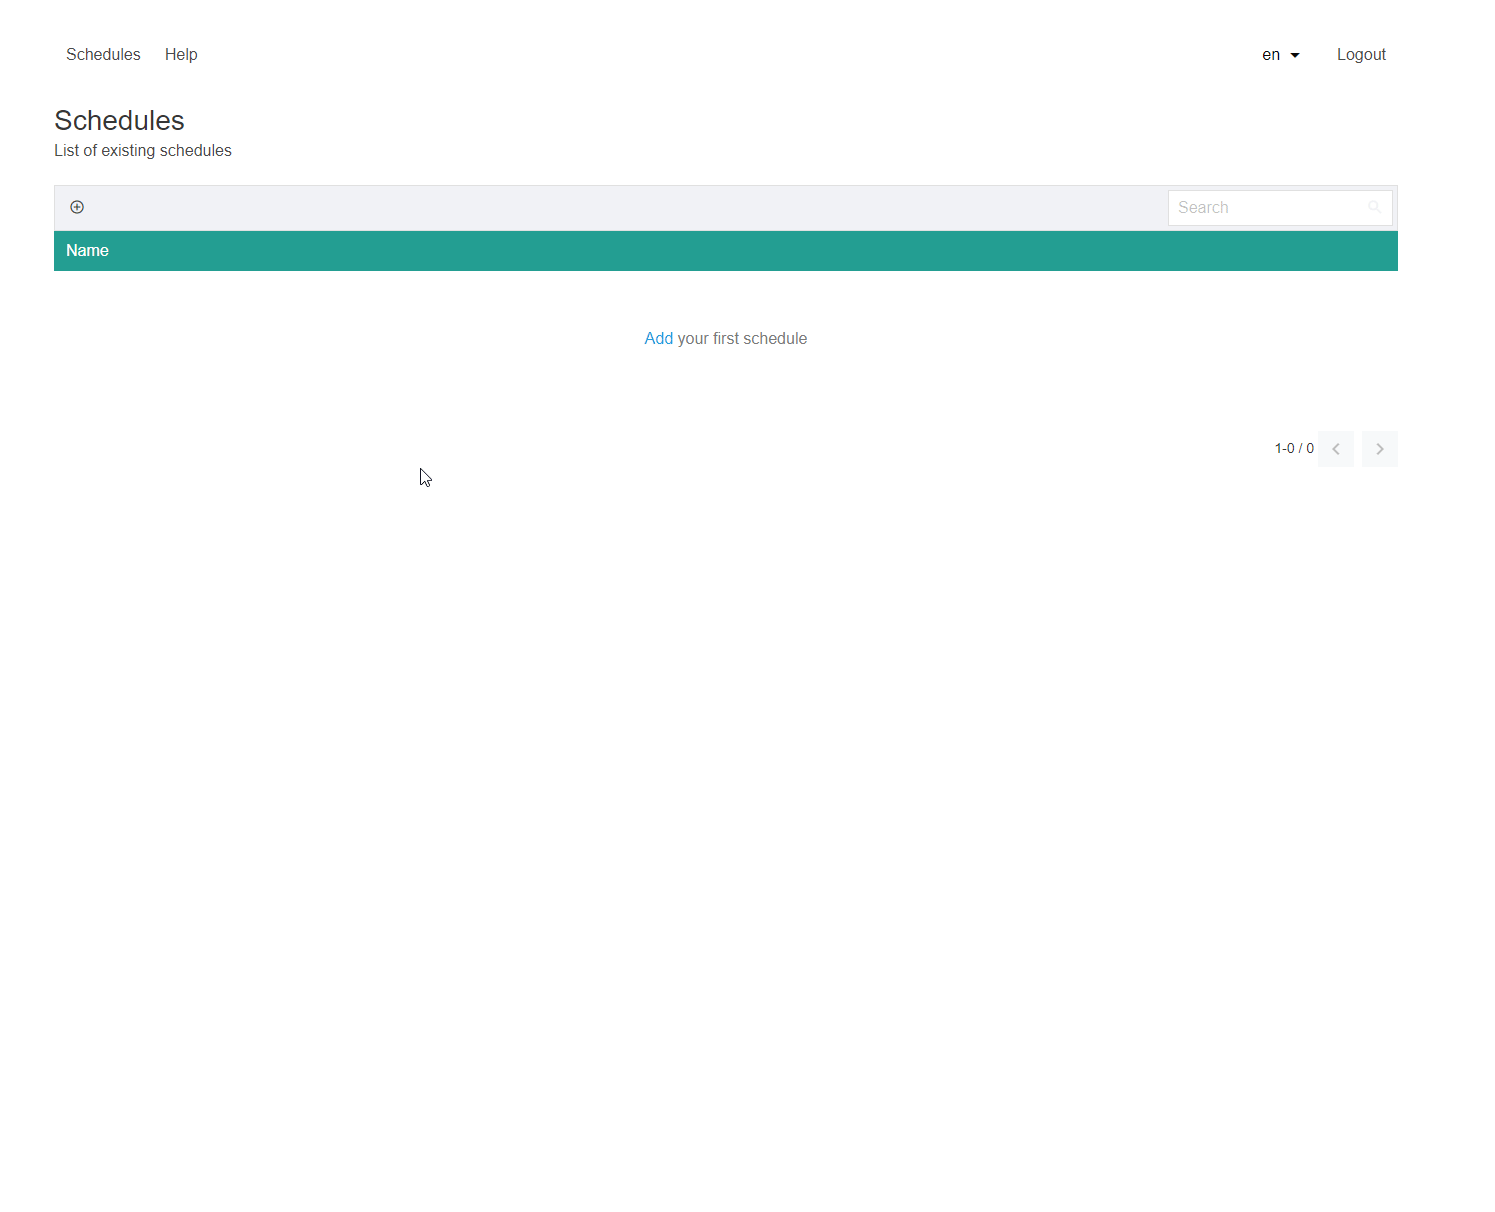
Creating Your First Schedule
To create your first schedule, follow these simple steps:
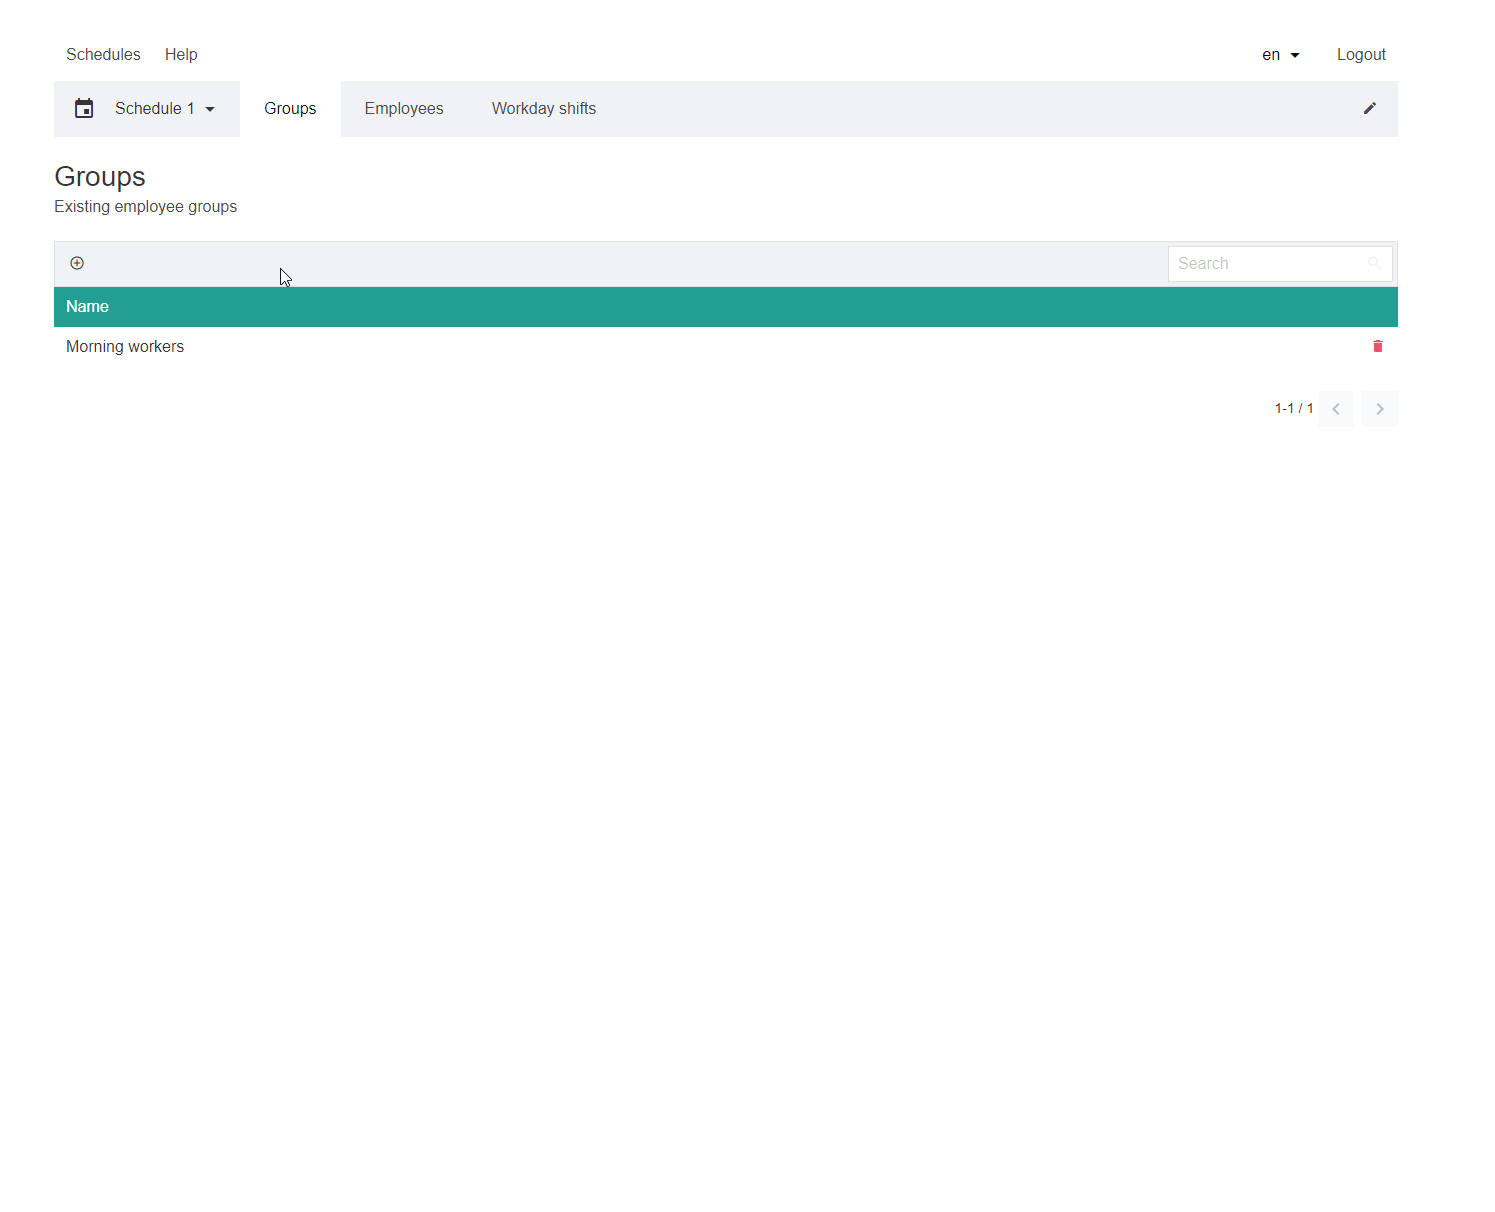
Creating Groups with Constraints and Rules
Note: Creating groups with well-defined constraints and rules is crucial for an organized and efficient schedule. Follow the steps below to set up groups with hard and soft constraints.
Creating Groups:
- Access the
"Groups"'Groups' sectionor tabinyourscheduling platform. - Click on the
"'Create NewGroup"Group'orbutton - Provide a name or label for the group, such as "Sales Team" or "
MorningSupervisors" - Customize any necessary settings specific to the group.
- Configuring Constraints: Define hard constraints for the group, such as specific working hours or mandatory group assignments.
- Configure soft constraints, which are preferences or recommendations that can be considered during scheduling but may be adjusted if necessary.
- Click
or'Save'confirmtothecreatecreation of thenew group.Section Title: Adding Employees with Constraints and Rules
Note: Adding employees while considering their constraints and rules ensures a well-balanced schedule. Follow the steps below to add employees with their associated hard and soft constraints.
Adding Employees
Define hard constraints for each employee, such as preferred shifts, maximum working hours, or specific off-days.
Set
Note: Properly configuring shifts with constraints and rules ensures a well-optimized schedule. Follow the steps below'Save' to setadd upemployee.

Setting up Shifts
Access the "Shifts"
tab or areasection where you cann manage shifts.- Click on "Create New Shift"
orbutton. - Specify the shift details, such as start time, end time, and any specific requirements. Assign the shift to the relevant group(s) or employee(s).
- Configuring Constraints:
Define hard constraints for each shift, such as mandatory skills, minimum staffing
levels,levels or preferred employee assignments.- Click
soft'Save'constraintstobasedcreateon shift preferences or recommendations. Save or confirm the creation of eachnew shift.
By following these steps in each section, you can create well-structured groups, employees, and shifts while considering their respective hard and soft constraints. This approach ensures an organized and efficient scheduling process that aligns with the requirements and preferences of your workforce.